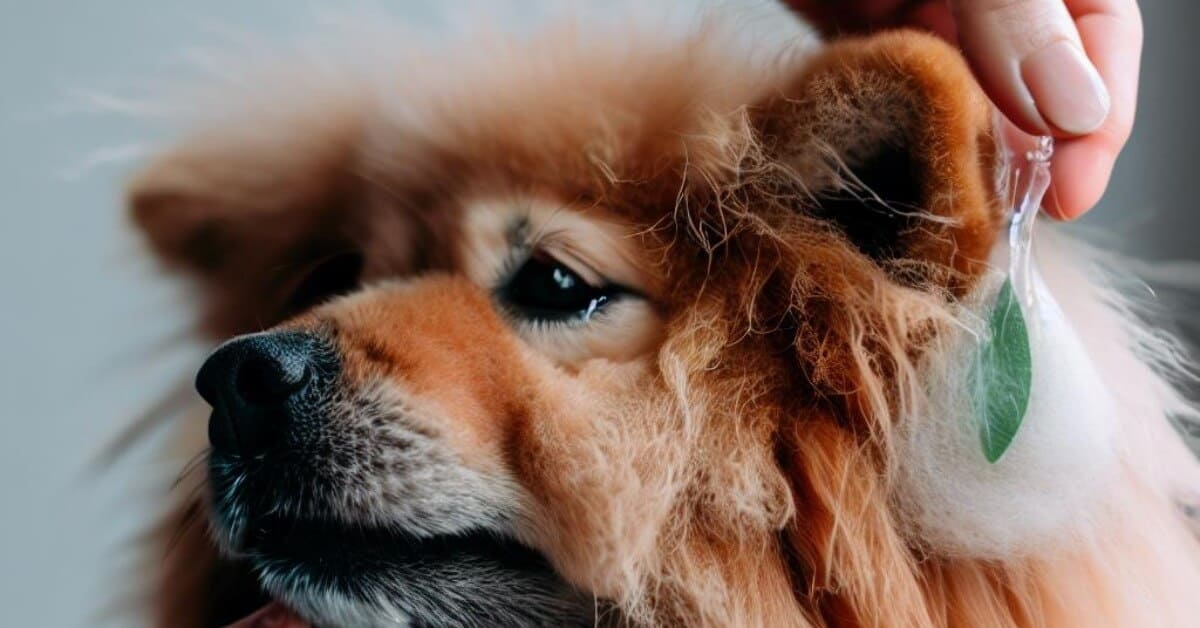
As pet parents, we adore our furry companions and strive to keep them clean and comfortable. However, sometimes our dogs get into sticky situations, quite literally.
One of these pesky predicaments is when sap gets stuck in their beautiful coats. The gooey, resinous substance can be challenging to remove, but fear not!
In this comprehensive guide, we will walk you through simple yet effective methods to get sap out of your dog’s fur, allowing your four-legged friend to prance around sap-free once again.
Table of Contents
ToggleUnderstanding Sap and its Challenges
Before we delve into the removal process, it’s essential to understand sap and the difficulties it presents. Sap, commonly found in trees, is a thick, sticky substance that helps the tree heal wounds and acts as a protective barrier. While sap plays a vital role in nature, it can become a nuisance when it finds its way onto your dog’s fur. The challenge lies in its sticky texture, which makes it adhere stubbornly to the fur, causing discomfort and potential matting.
Step-by-Step Guide to Safely Remove Sap
1. Assess the Situation
Begin by assessing the sap-covered area on your dog’s fur. Take note of the size and location of the sap patch. This information will help you determine the appropriate method for removal and ensure you’re adequately prepared.
2. Prepare the Necessary Tools
Gather the following items to aid you in the sap removal process:
- Pet-Friendly Shampoo: Choose a mild, hypoallergenic shampoo specifically formulated for dogs. Avoid using human shampoos as they may contain ingredients that could irritate your pet’s skin.
- Warm Water: You’ll need warm water to wet the affected area and facilitate the removal process.
- Towels: Have several clean towels ready to dry your dog after the sap has been removed.
- Gentle Dog Brush or Comb: A soft-bristle brush or comb will help detangle the fur after sap removal.
3. Prepare Your Dog
To ensure a smooth and stress-free sap removal process, prepare your dog by creating a calm environment. Find a quiet space where your dog feels comfortable and secure. Offering treats and praise throughout the process can help keep them relaxed and cooperative.
4. Pre-treatment: Softening the Sap
Before directly addressing the sap, you’ll need to soften it. Apply a small amount of pet-friendly shampoo onto your fingertips and gently massage it into the sap-covered fur. Allow the shampoo to sit for a few minutes to penetrate the sap and make it easier to remove.
5. Sap Removal
Using your fingertips, carefully and slowly work through the sap, gently separating it from the fur. Take your time and be patient, ensuring you don’t tug or pull at the fur excessively. If the sap proves stubborn, reapply a small amount of shampoo and continue the gentle removal process.
6. Rinse and Cleanse
Once you have successfully removed the sap, rinse the affected area with warm water. Thoroughly cleanse the fur, ensuring all traces of shampoo and sap are washed away. It’s crucial to prevent any residue that might irritate your dog’s skin.
7. Dry and Brush
Gently pat the fur with a towel to remove excess moisture. Avoid vigorous rubbing, as it may cause discomfort or tangles. Once the fur is mostly dry, use a soft-bristle brush or comb to carefully detangle any knots or matting caused by the sap.
Precautions to Keep in Mind
While the sap removal process is generally safe, it’s important to exercise caution to ensure your dog’s well-being:
- Avoid Scissors: Refrain from using scissors or other sharp objects near your dog’s fur. Cutting the sap out may seem tempting, but it can lead to accidental injuries.
- Prevent Ingestion: Dogs may try to lick off the sap or shampoo, potentially ingesting harmful substances. Keep a watchful eye during and after the process to prevent any unwanted consumption.
- Consult a Veterinarian: If you encounter difficulties during the sap removal process or notice any signs of skin irritation or discomfort, consult your veterinarian for professional advice.
Conclusion
Removing sap from your dog’s fur may require time, patience, and a gentle touch, but it’s entirely possible with the right approach.
By following the step-by-step guide outlined above, you can safely and effectively bid farewell to the sticky mess that sap creates.
Remember to prioritize your dog’s comfort throughout the process, offering plenty of praise, treats, and love. With your determination and the techniques provided, your furry friend will soon be enjoying a sap-free and happy existence once again!
Note: Always consult with a professional groomer or veterinarian if you have any concerns or if the sap removal process proves difficult.


